이전 포스팅에서 수동으로 배포하는 방법에 대해 알아보았다면, 이번 포스팅에선 해당 수동 배포를 자동화하는 방법에 대해 알아보겠습니다.
* github, github action, codedeploy 활용
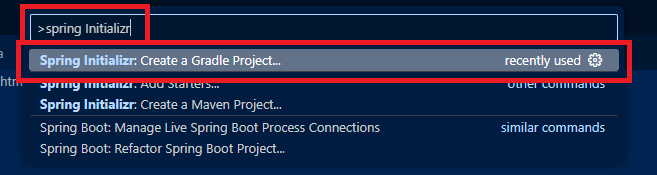
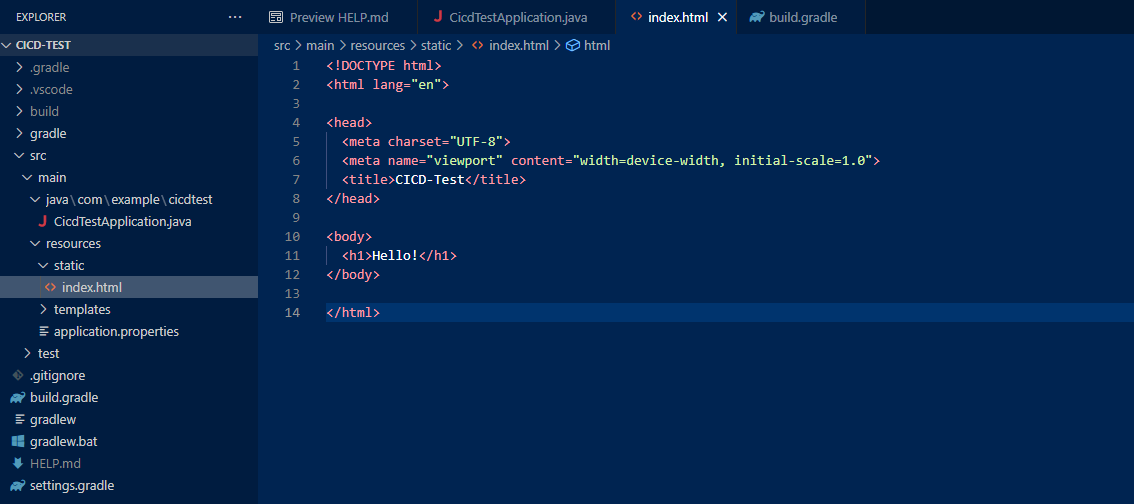
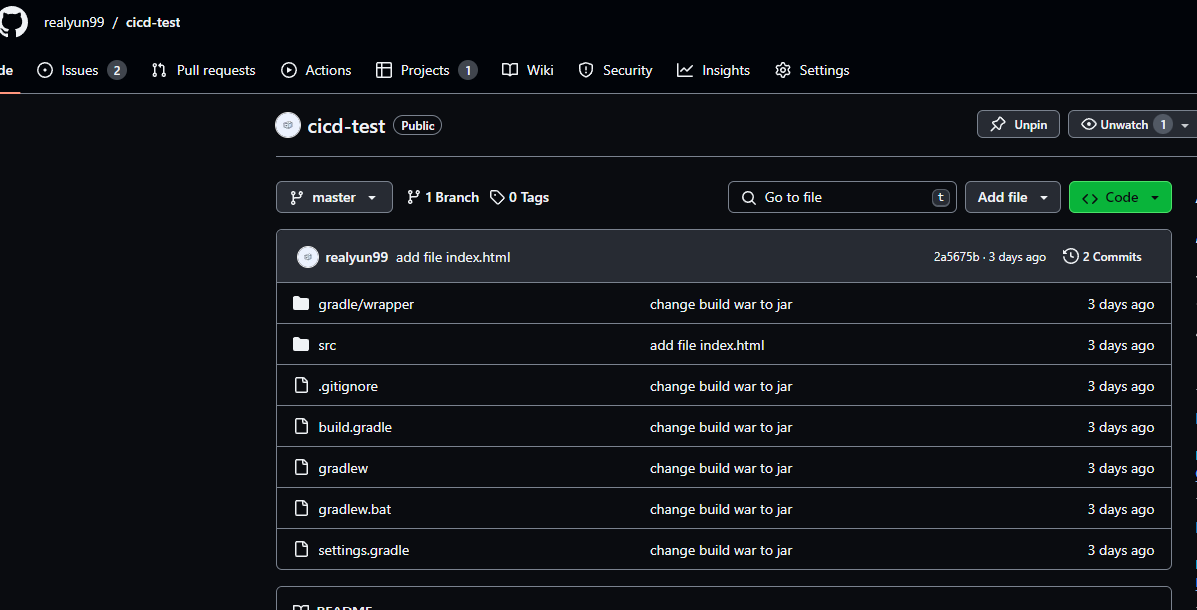
Github Action 설정 (CI)
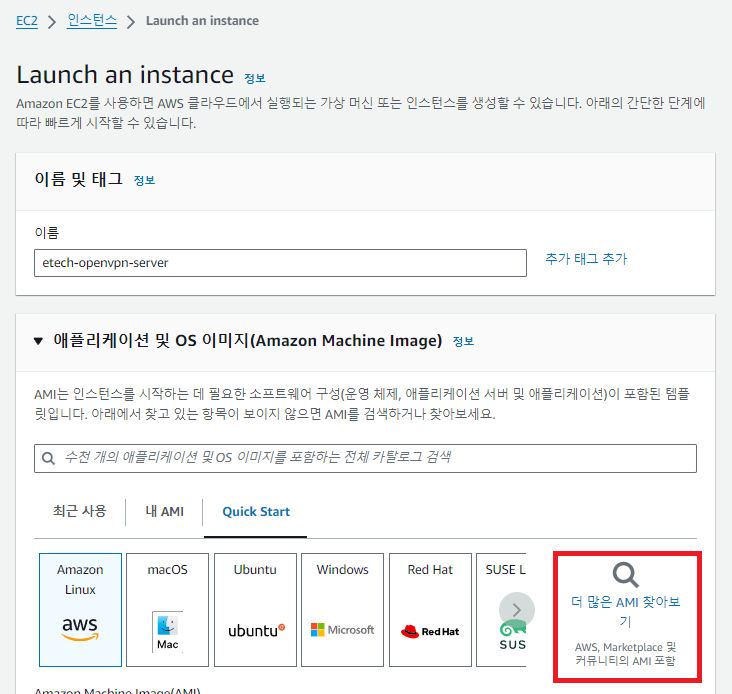
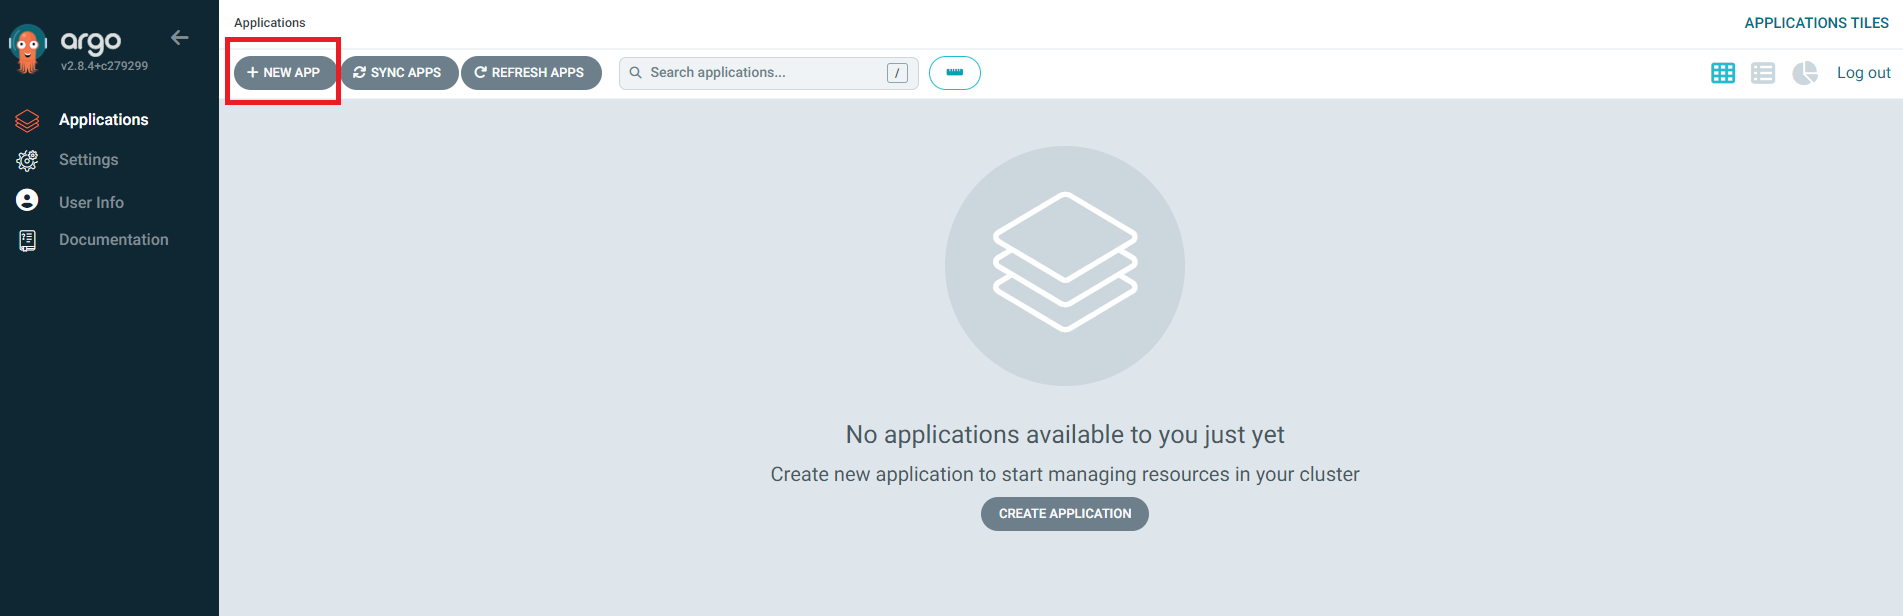
yaml 파일로 설정하기 위해 해당 네모 부분 클릭해 들어갑니다.
# workflow의 이름
name: CI
# 해당 workflow가 언제 실행될 것인지에 대한 트리거를 지정
on:
push:
branches: [ master ] # main branch로 push 될 때 실행됩니다.
pull_request:
branches: [ master ] # main branch로 pull request될 때 실행됩니다.
# workflow는 한개 이상의 job을 가지며, 각 job은 여러 step에 따라 단계를 나눌 수 있습니다.
jobs:
build:
name: CI
# 해당 jobs에서 아래의 steps들이 어떠한 환경에서 실행될 것인지를 지정합니다.
runs-on: ubuntu-latest
steps:
# 작업에서 액세스할 수 있도록 $GITHUB_WORKSPACE에서 저장소를 체크아웃합니다.
- uses: actions/checkout@v2
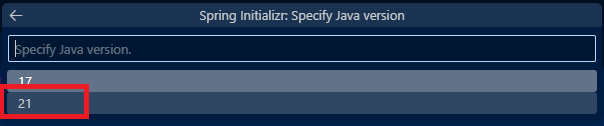
- name: Set up JDK 21
uses: actions/setup-java@v2
with:
java-version: '21'
distribution: 'temurin'
- name: Grant execute permission for gradlew
run: sudo chmod +x ./gradlew
shell: bash
- name: Build with Gradle
run: ./gradlew build
shell: bash
위 코드를 넣어 줍니다.
이후 로컬 프로젝트에서 git pull 로 가져와야합니다!!
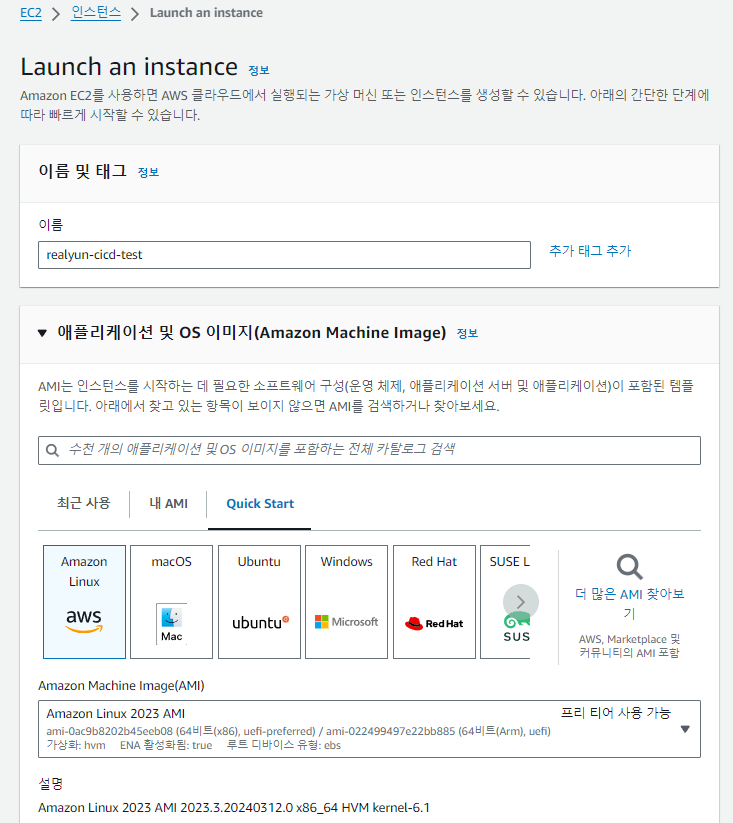
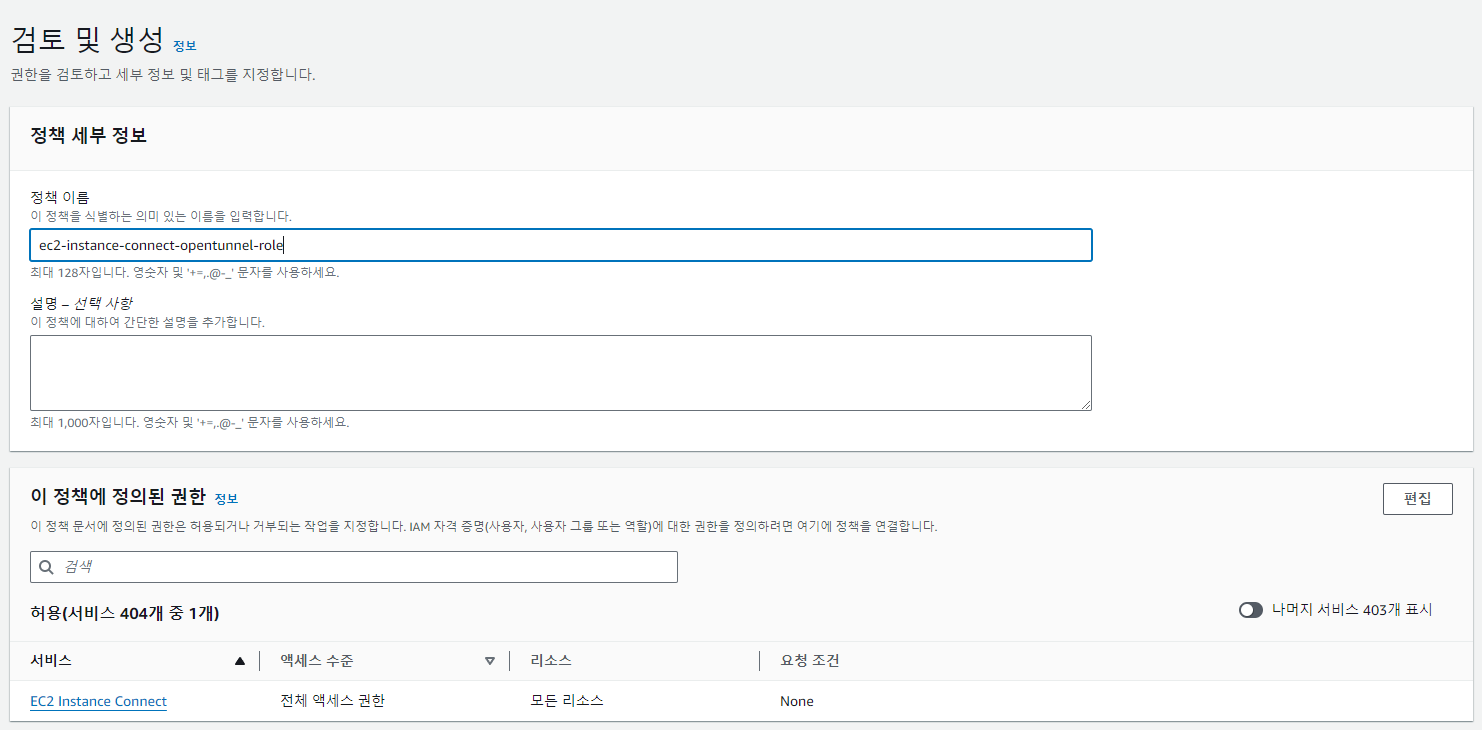
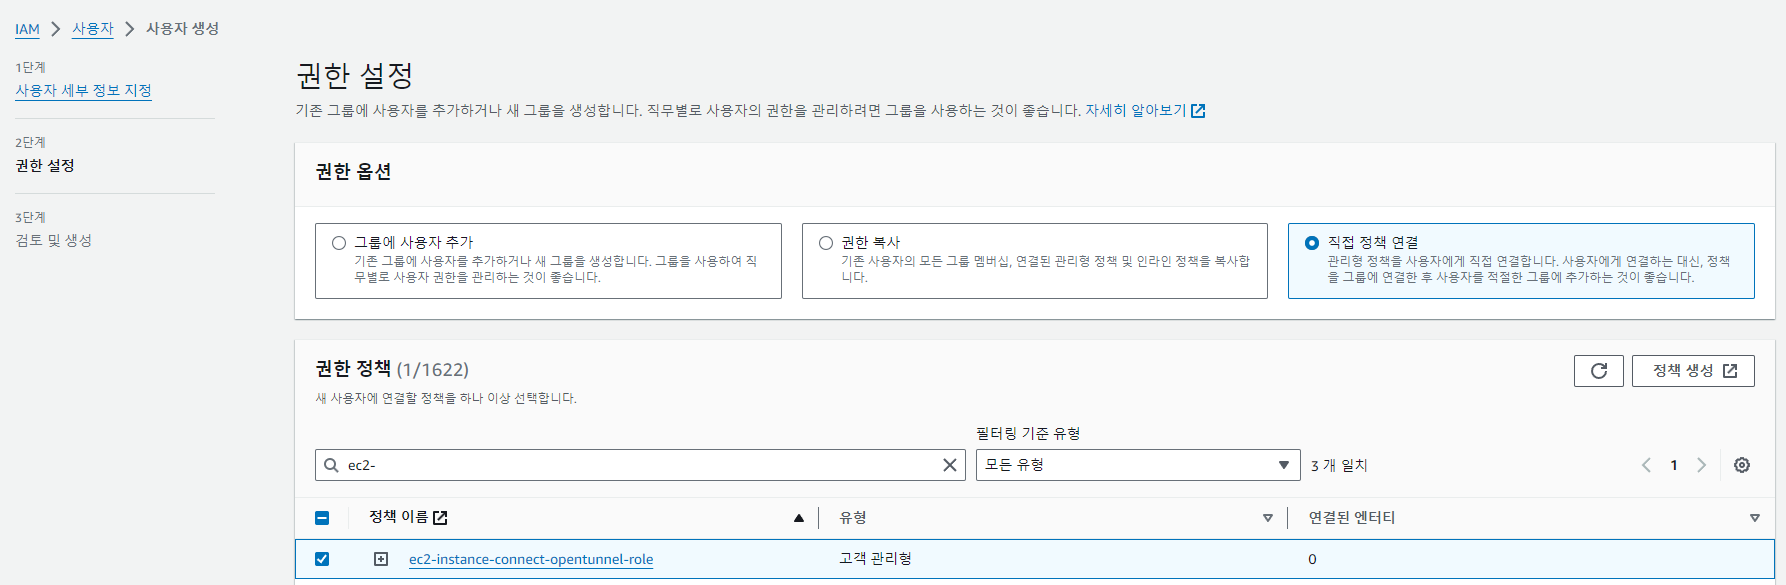
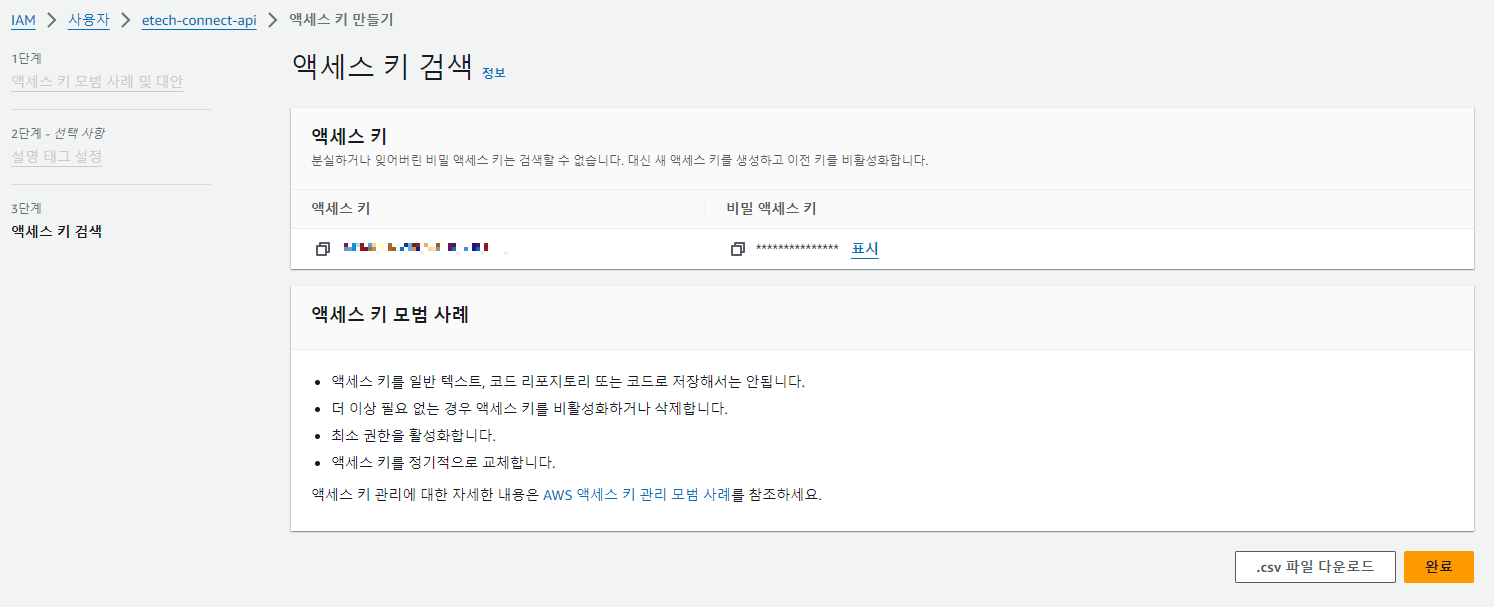
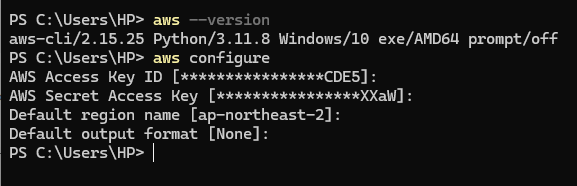
AWS IAM User 생성(액세스 키 발급)
S3FullAccess, CodeDeployFullAccess 관련 정책을 넣은 사용자를 생성합니다.
.github/workflows 폴더 안에 cd.yaml 파일을 생성하고 아래 코드를 넣어주세요.
# workflow의 이름
name: CD
# 해당 workflow가 언제 실행될 것인지에 대한 트리거를 지정
on:
push:
branches: [ master ] # master branch로 push 될 때 실행됩니다.
# 해당 yml 내에서 사용할 key - value
env:
S3_BUCKET_NAME: realyun-cicd-test
PROJECT_NAME: cicd-test
# workflow는 한개 이상의 job을 가지며, 각 job은 여러 step에 따라 단계를 나눌 수 있습니다.
jobs:
build:
name: CD
# 해당 jobs에서 아래의 steps들이 어떠한 환경에서 실행될 것인지를 지정합니다.
runs-on: ubuntu-latest
steps:
# 작업에서 액세스할 수 있도록 $GITHUB_WORKSPACE에서 저장소를 체크아웃합니다.
- uses: actions/checkout@v2
- name: Set up JDK 21
uses: actions/setup-java@v2
with:
java-version: '21'
distribution: 'temurin'
- name: Grant execute permission for gradlew
run: sudo chmod +x ./gradlew
shell: bash
- name: Build with Gradle
run: ./gradlew build
shell: bash
- name: Make zip file
run: zip -r ./$GITHUB_SHA.zip .
shell: bash
- name: Configure AWS credentials
uses: aws-actions/configure-aws-credentials@v1
with:
aws-access-key-id: ${{ secrets.AWS_ACCESS_KEY_ID }}
aws-secret-access-key: ${{ secrets.AWS_SECRET_ACCESS_KEY }}
aws-region: ${{ secrets.AWS_REGION }}
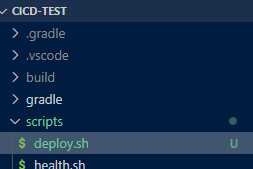
# script files 복사
- name: Copy script
run: cp ./scripts/*.sh ./deploy
# S3에 업로드
- name: Upload to S3
run: aws s3 cp --region ap-northeast-2 ./$GITHUB_SHA.zip s3://$S3_BUCKET_NAME/$PROJECT_NAME/$GITHUB_SHA.zip
성공하면 버킷에 zip 파일이 담긴 것을 확인할 수 있습니다.
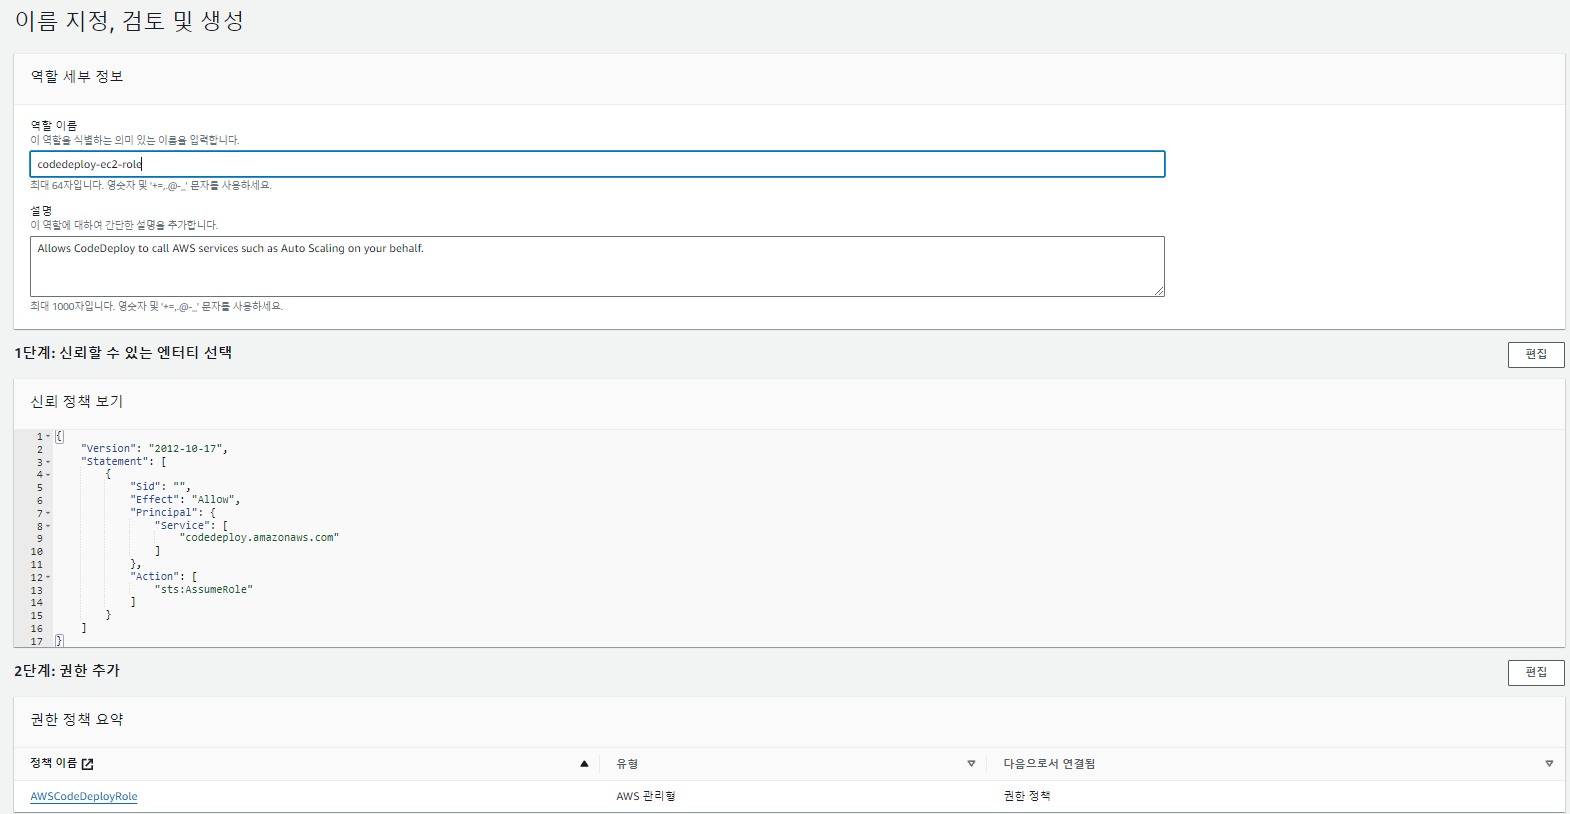
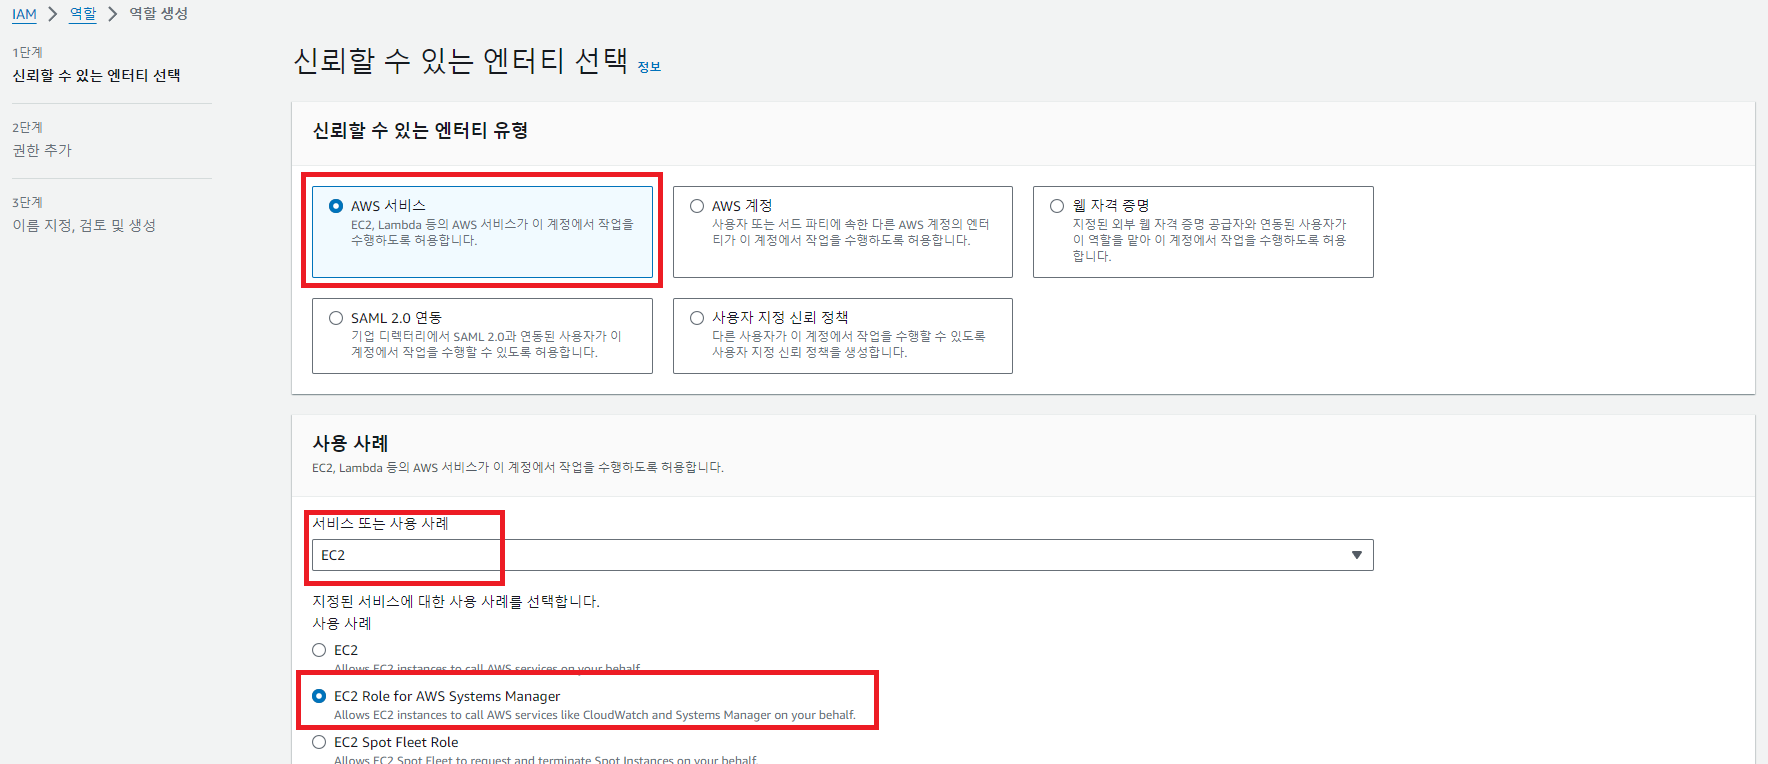
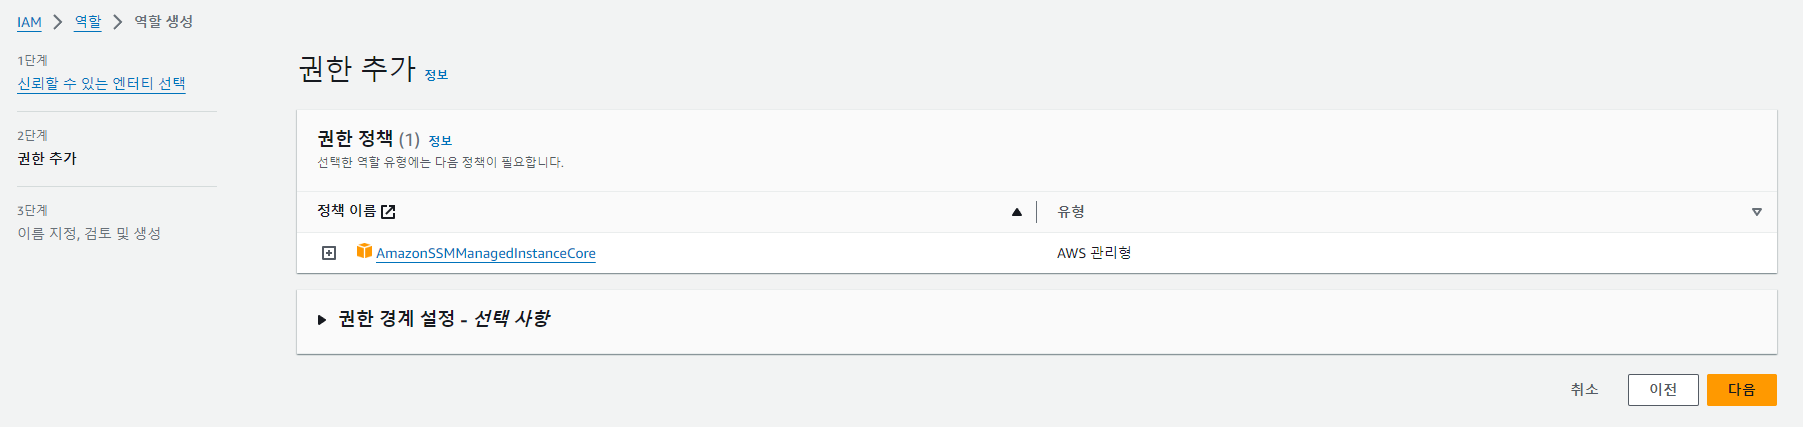
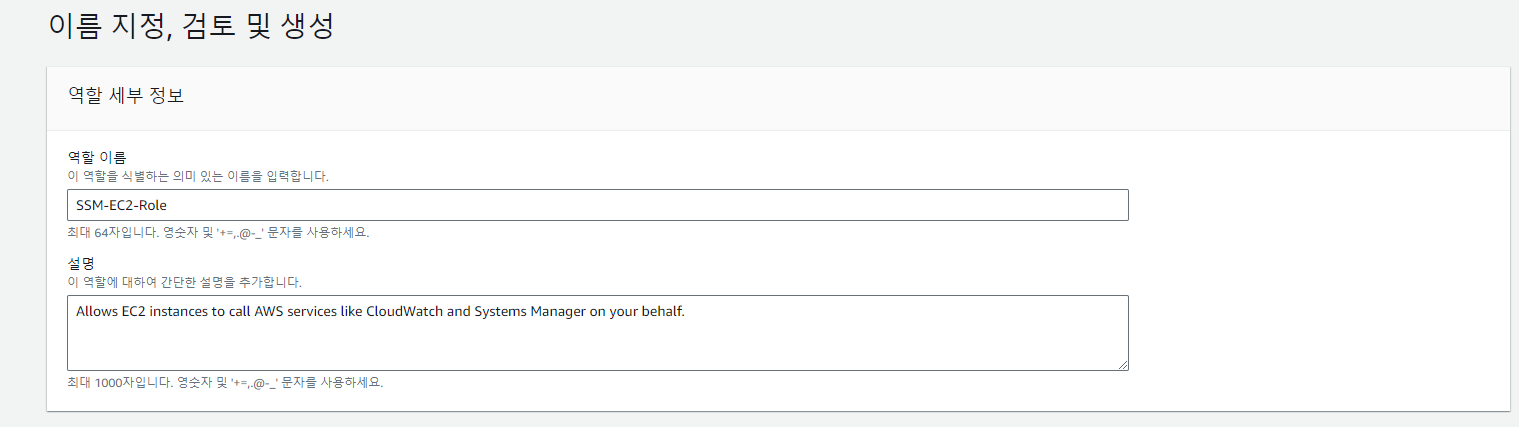
EC2 역할 추가
EC2에 적용할 CodeDeploy role을 만들어 줍니다.
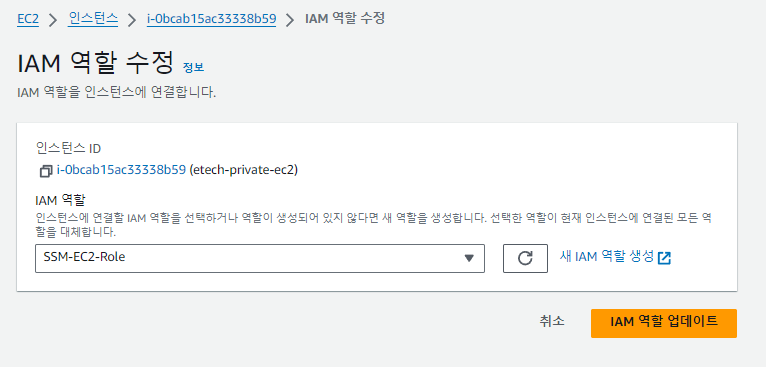
IAM 역할 수정을 클릭해 위에서 생성했던 role을 적용합니다. (인스턴스 재부팅 해야 적용됨!)
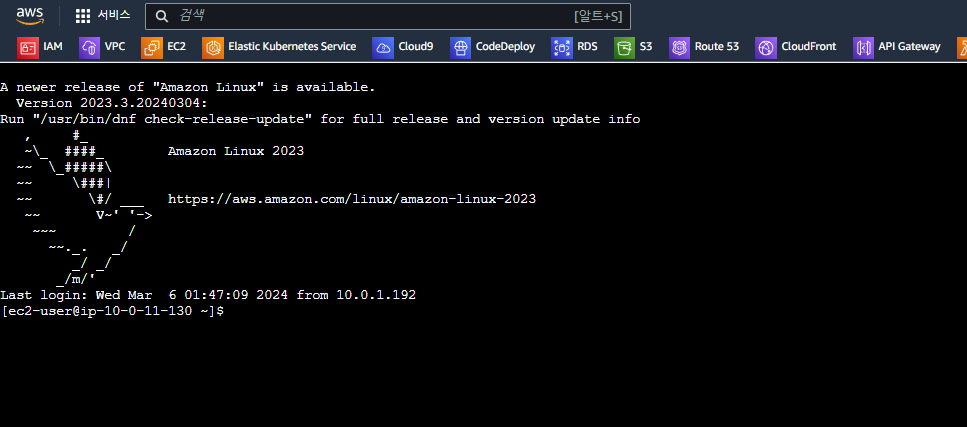
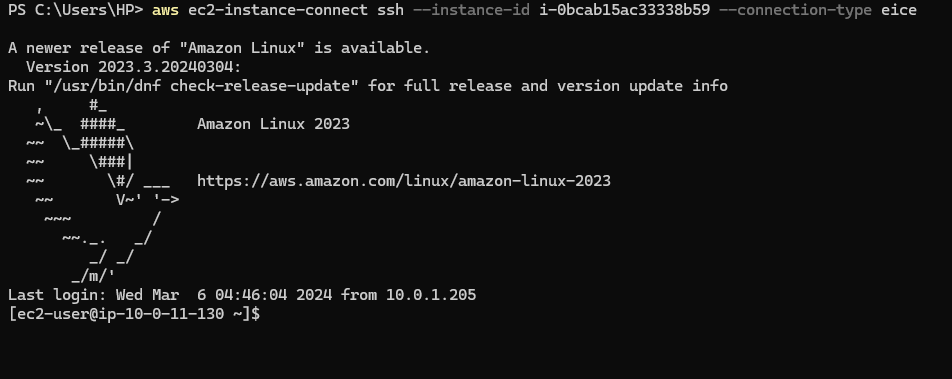
EC2에 CodeDeploy agent 설치
aws s3 cp s3://aws-codedeploy-ap-northeast-2/latest/install . --region ap-northeast-2
chmod +x ./install
sudo ./install auto
sudo service codedeploy-agent status

# ruby 에러 시
sudo yum install ruby
위 이미지처럼 running 메시지를 확인하면 잘 돌아가고 있음을 알 수 있습니다.
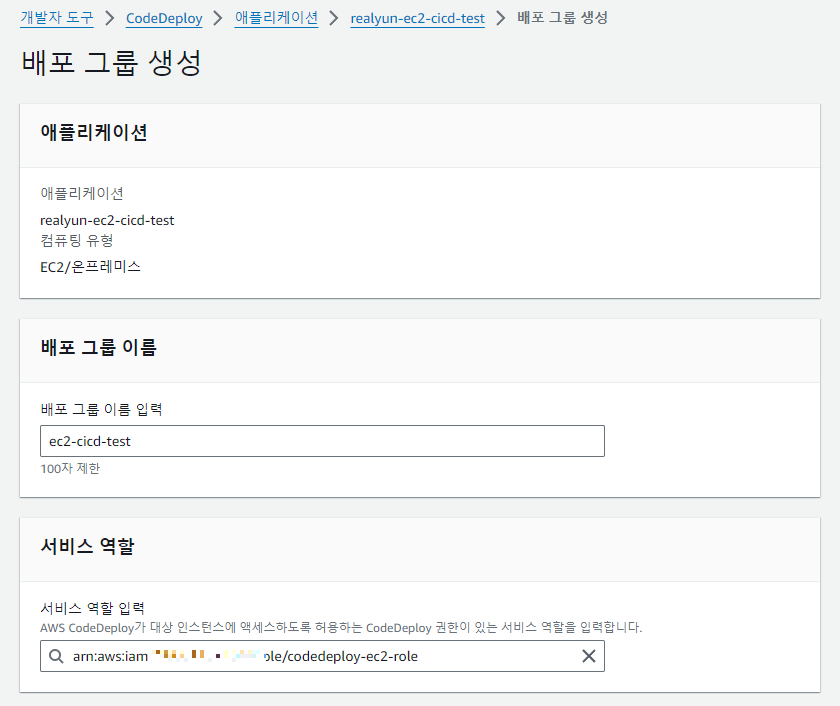
CodeDeploy 권한 추가 및 애플리케이션 생성
EC2에 권한을 추가한 것 처럼 CodeDeploy에도 EC2에 접근할 수 있는 권한을 생성합니다.
애플리케이션 생성배포그룹 생성
위에서 CodeDeploy를 위해 생성했던 역할을 선택한 뒤 EC2 인스턴스로 구성해주면 됩니다.
(로드밸런싱은 비활성화로 진행)
version: 0.0
os: linux
# S3에 있는 zip 파일이 EC2에 배포될 위치를 지정
files:
  - source: / # CodeDeploy에서 전달해 준 파일 중 destination으로 이동시킬 대상을 루트로 지정(전체파일)
    destination: /home/ec2-user/action/ # source에서 지정된 파일을 받을 위치, 이후 jar를 실행하는 등은 destination에서 옮긴 파일들로 진행
    overwrite: yes

permissions: # CodeDeploy에서 EC2서버로 넘겨준 파일들을 모두 ec2-user권한을 갖도록 합니다.
  - object: /
    pattern: "**"
    owner: ec2-user
    group: ec2-user

# ApplicationStart 단계에서 deploy.sh를 실행시키도록 합
hooks: # CodeDeploy배포 단계에서 실행할 명령어를 지정합니다.
  ApplicationStart: # deploy.sh를 ec2-user권한으로 실행합니다.
    - location: scripts/deploy.sh
      timeout: 60 # 스크립트 실행 60초 이상 수행되면 실패가 됩니다.
      runas: ec2-user
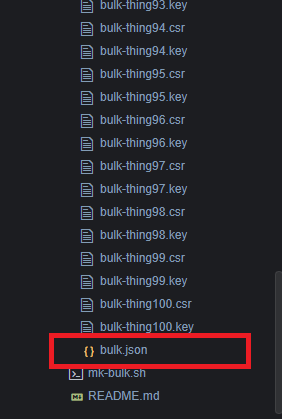
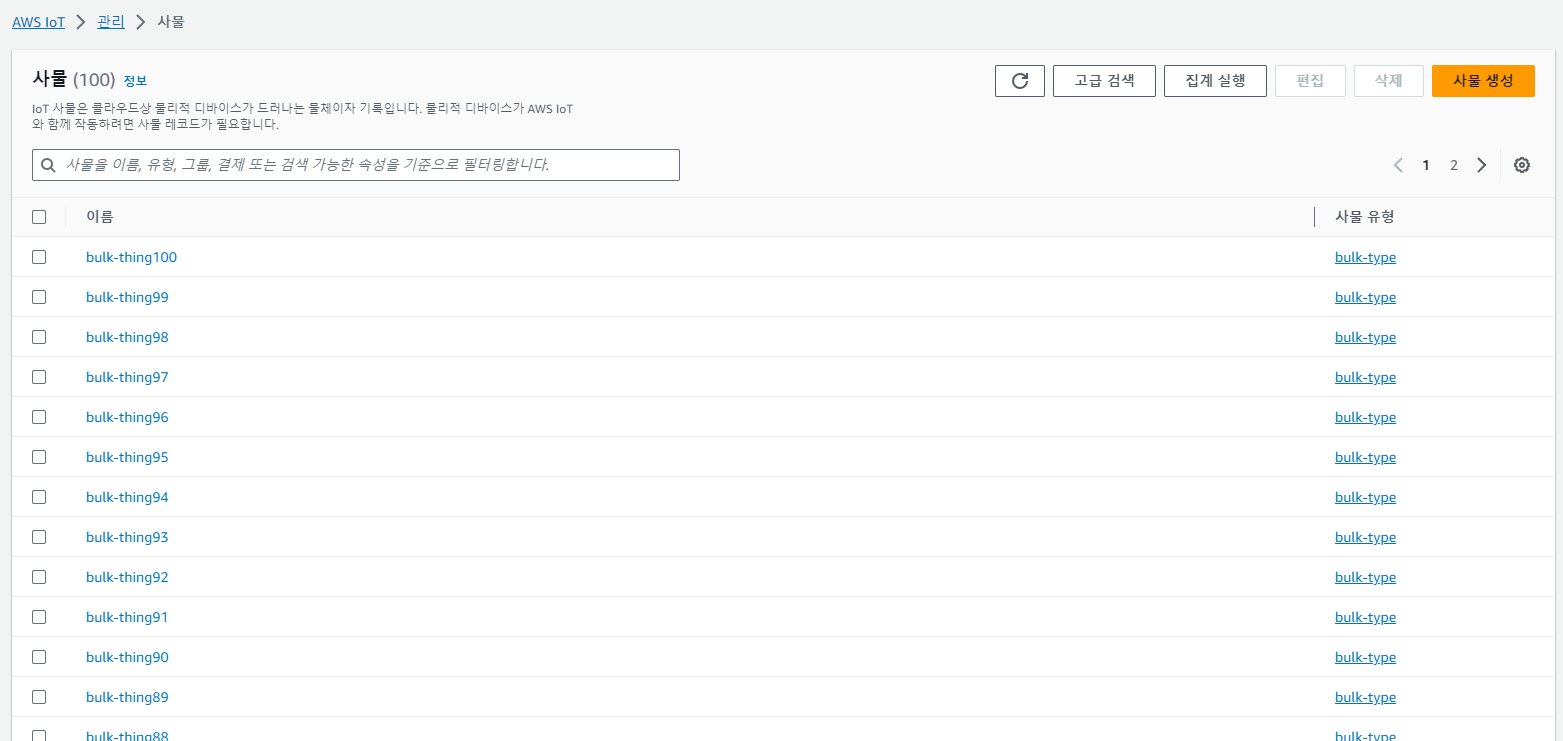
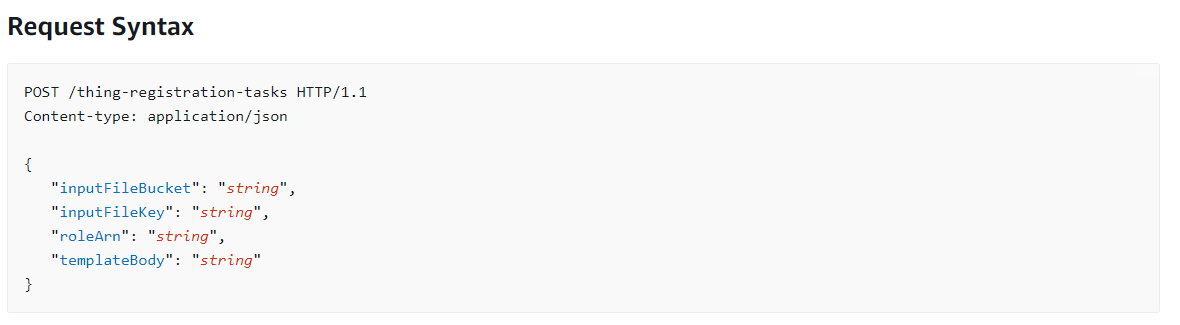
bulk registration을 사용하기 위해서는 아래 이미지와 같은 형식의 JSON 파일이 필요합니다.
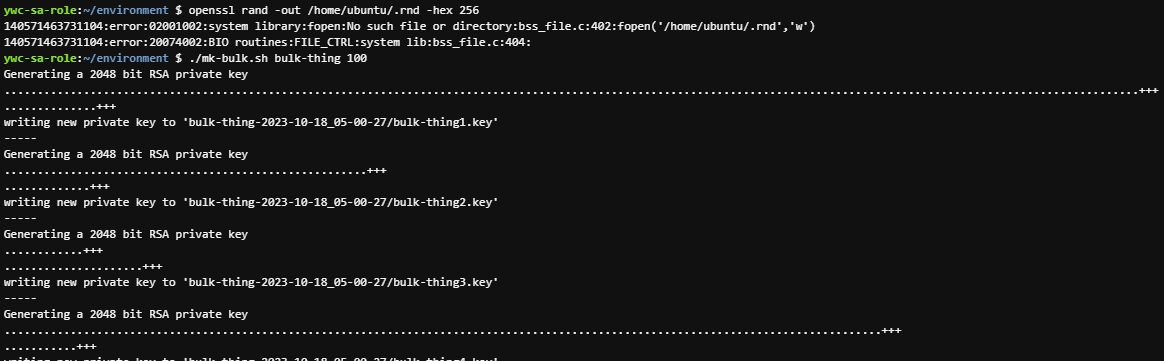
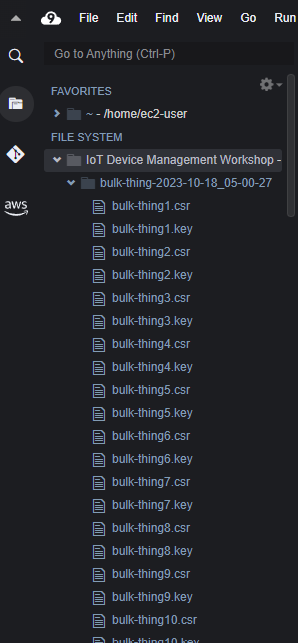
이와 같은 파일을 얻기 위해 사용했던 스크립트가 mk-bulk.sh 이며, 결과물은 bulk.json 입니다.
mk-bulk.sh
#!/bin/bash

# Copyright 2018 Amazon.com, Inc. or its affiliates. All Rights Reserved.
#
# Licensed under the Apache License, Version 2.0 (the "License").
# You may not use this file except in compliance with the License.
# A copy of the License is located at
#
#     http://www.apache.org/licenses/LICENSE-2.0
#
# or in the "license" file accompanying this file. This file is distributed
# on an "AS IS" BASIS, WITHOUT WARRANTIES OR CONDITIONS OF ANY KIND, either
# express or implied. See the License for the specific language governing
# permissions and limitations under the License.

set -e

if [ -z $1 ] || [ -z $2 ]; then
    echo "usage: $0 <base_thingname> <num_things>"
    exit 1
fi

thing_name=$1
num_things=$2

date_time=$(date "+%Y-%m-%d_%H-%M-%S")

out_dir=$thing_name-$date_time
mkdir $out_dir || exit 1


for i in $(seq 1 $num_things) ; do
  openssl req -new -newkey rsa:2048 -nodes -keyout $out_dir/$thing_name$i.key -out $out_dir/$thing_name$i.csr -subj "/C=DE/ST=Berlin/L=Berlin/O=AWS/CN=Big Orchestra"

  one_line_csr=$(awk 'NF {sub(/\r/, ""); printf "%s\\n",$0;}' $out_dir/$thing_name$i.csr)

  echo "{\"ThingName\": \"$thing_name$i\", \"SerialNumber\": \"$i\", \"CSR\": \"$one_line_csr\"}" >> $out_dir/bulk.json
done

echo "output written to $out_dir/bulk.json"
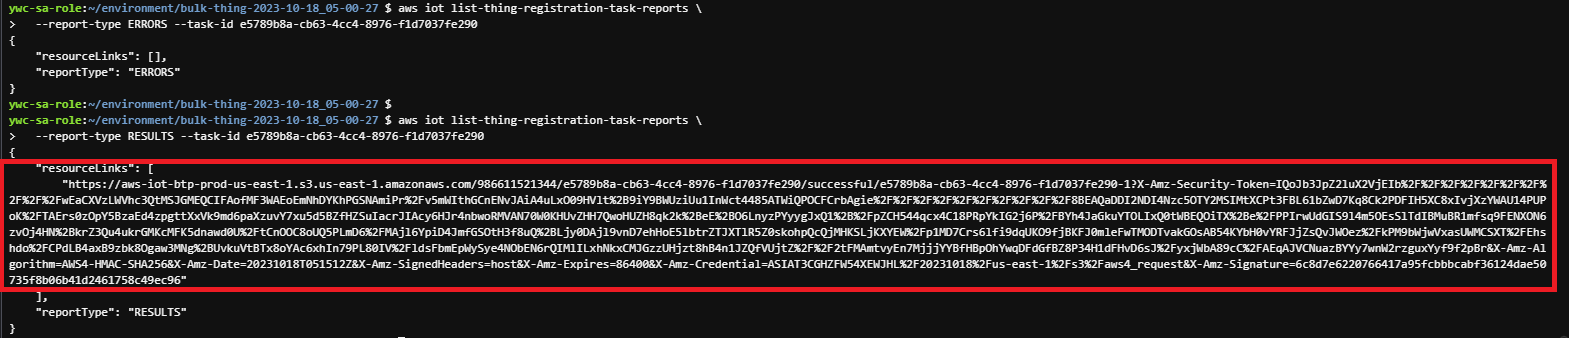
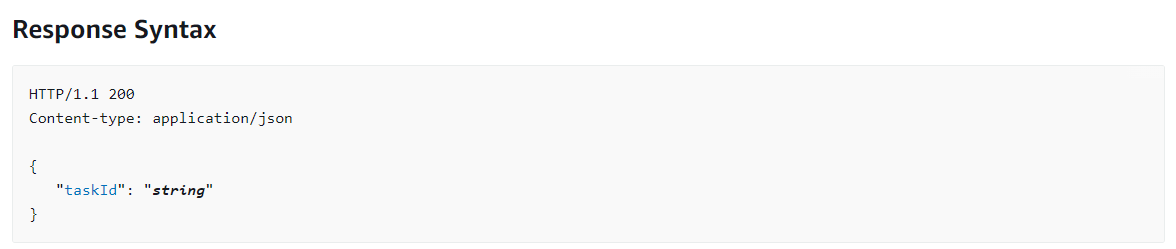
인증서(pem 파일)를 results.json 파일에서 추출하여 파일로 저장하기 위해 아래의 python 스크립트를 실행합니다.
(해당 응답을 잃어버리면 인증서를 얻을 방법이 없기 때문에 파일로 추출해 저장하는 것이 좋습니다.)
bulk-result.py
#!/usr/bin/python

# Copyright 2018 Amazon.com, Inc. or its affiliates. All Rights Reserved.
#
# Licensed under the Apache License, Version 2.0 (the "License").
# You may not use this file except in compliance with the License.
# A copy of the License is located at
#
#     http://www.apache.org/licenses/LICENSE-2.0
#
# or in the "license" file accompanying this file. This file is distributed
# on an "AS IS" BASIS, WITHOUT WARRANTIES OR CONDITIONS OF ANY KIND, either
# express or implied. See the License for the specific language governing
# permissions and limitations under the License.

import json
import os
import sys


def process_line(line):
    d = json.loads(line)
    crt = d["response"]["CertificatePem"]
    thing = d["response"]["ResourceArns"]["thing"].split('/')[1]
    print("creating file {}.cert.pem for thing {}".format(thing, thing))
    file = open(thing + ".cert.pem", "w")
    file.write(crt)
    file.close()

def process_results(file):
    try:
        with open(file) as f:
            for line in f:
                process_line(line)
        f.close()
    except Exception as e:
        print("error opening file {}: {}".format(file,e))
        return None

def main(argv):
    if len(argv) == 0:
        print("usage: {} <result_filename>".format(os.path.basename(__file__)))
        sys.exit(1)

    process_results(argv[0])

if __name__ == "__main__":
    main(sys.argv[1:])
❗ 튜토리얼의 설치 방법은 연습을 위한 것으로 실 운영 환경에선 설정 검토가 필수!!! ❗
kubectl create namespace argocd
kubectl apply -n argocd -f https://raw.githubusercontent.com/argoproj/argo-cd/stable/manifests/install.yaml
# 설치 확인
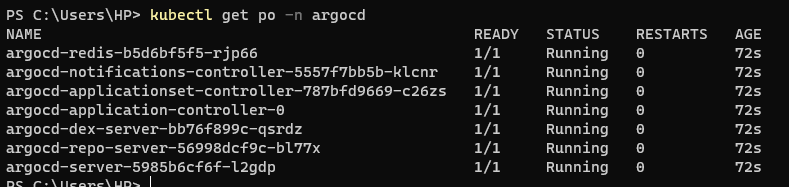
kubectl -n argocd get po
argocd-server service 접속
접속을 위해 ClusterIP가 아닌 NodePort로 변경 (LoadBalancer가 있으면 그걸로 바꿔도 됨)